728x90
Linux 나 Mac 으로 개발을 하다보면 vscode, intellij 등 정말 다양한 IDE 와 Text Editor 를 사용한다. 하지만, 빠르게 파일을 읽고, 수정하는데는 VIM 만큼 쉬운 도구가 없다.
이런 VIM 을 편하게 사용 하는 방법은 VIM 플러그인 매니저인 Vundle 을 이용하여 아래와 같이 사용하는 것이다.
VIM 을 조금 더 편하게 사용 하는 설정을 함께 해보자.
1. vundle 플러그인 설치
git clone https://github.com/VundleVim/Vundle.vim.git ~/.vim/bundle/Vundle.vim

2. .vimrc 파일 설정 추가

아래 설정은 markdown, split 된 창 이동, 들여쓰기, 마우스 스크롤 등의 기본적인 설정이 되어 있다.
set nocompatible              " be iMproved, required
filetype off                  " required
" set the runtime path to include Vundle and initialize
set rtp+=~/.vim/bundle/Vundle.vim
call vundle#begin()
" alternatively, pass a path where Vundle should install plugins
"call vundle#begin('~/some/path/here')
" let Vundle manage Vundle, required
Plugin 'VundleVim/Vundle.vim'
" The following are examples of different formats supported.
" Keep Plugin commands between vundle#begin/end.
" plugin on GitHub repo
Plugin 'tpope/vim-fugitive'
" plugin from http://vim-scripts.org/vim/scripts.html
" Plugin 'L9'
" Git plugin not hosted on GitHub
Plugin 'git://git.wincent.com/command-t.git'
" git repos on your local machine (i.e. when working on your own plugin),
"Plugin 'file:///home/jjeaby/Dev/tools/vim-plugin'
" The sparkup vim script is in a subdirectory of this repo called vim.
" Pass the path to set the runtimepath properly.
Plugin 'rstacruz/sparkup', {'rtp': 'vim/'}
" Install L9 and avoid a Naming conflict if you've already installed a
" different version somewhere else.
" Plugin 'ascenator/L9', {'name': 'newL9'}
" All of your Plugins must be added before the following line
Plugin 'vim-airline/vim-airline'
Plugin 'scrooloose/nerdtree'
Plugin 'airblade/vim-gitgutter'
Plugin 'scrooloose/syntastic'
Plugin 'ctrlpvim/ctrlp.vim'
Plugin 'nanotech/jellybeans.vim'
call vundle#end()            " required
"filetype plugin indent on    " required
"NERDTree ON 단축키를 "\nt"로 설정
map <Leader>nt <ESC>:NERDTree<CR>
let NERDTreeShowHidden=1
" let NERDTreeQuitOnOpen=1
let g:ctrlp_custom_ignore = {
  \ 'dir':  '\.git$\|vendor$',
    \ 'file': '\v\.(exe|so|dll)$'
\ }
color jellybeans
" Tag List 환경설정
filetype on                                 "vim filetype on
"Source Explorer 환경설정
nmap <F8> :SrcExplToggle<CR>                "F8 Key = SrcExpl Toggling
nmap <C-H> <C-W>h                           "왼쪽 창으로 이동
nmap <C-J> <C-W>j                           "아래 창으로 이동
nmap <C-K> <C-W>k                           "윗 창으로 이동
nmap <C-L> <C-W>l                           "오른쪽 창으로 이동
" 세부 정보 출력
set nu
set title
set showmatch
set ruler
" 구문 강조 사용
if has("syntax")
 syntax on
endif
" 색깔 설정
set t_Co=256
" 들여쓰기 설정
set autoindent
set smartindent
set tabstop=4
set shiftwidth=4
set softtabstop=4
set smarttab
set expandtab
" 붙여넣기 설정
set paste
set mouse-=a
" 한글 입력 설정
set encoding=utf-8
set termencoding=utf-8
" 커서가 있는 줄을 강조함
set cursorline " 상태바 표시를 항상한다
set laststatus=2
set statusline=\ %<%l:%v\ [%P]%=%a\ %h%m%r\ %F\ " 검색 설정
set ignorecase " 마지막으로 수정된 곳에 커서를 위치함
au BufReadPost *
\ if line("'\"") > 0 && line("'\"") <= line("$") |
\ exe "norm g`\"" |
\ endif " Markdown 문법 설정 (Git 에서 사용)
augroup markdown
    " remove previous autocmds
    autocmd!
    " set every new or read *.md buffer to use the markdown filetype
    autocmd BufRead,BufNew *.md setf markdown
augroup END%
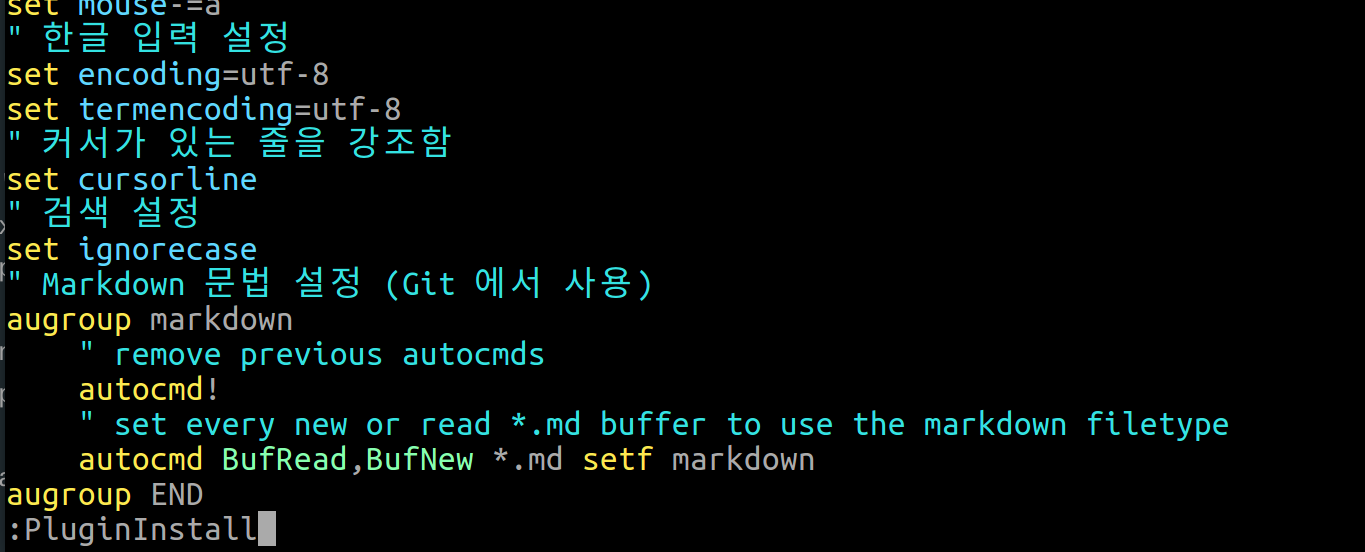
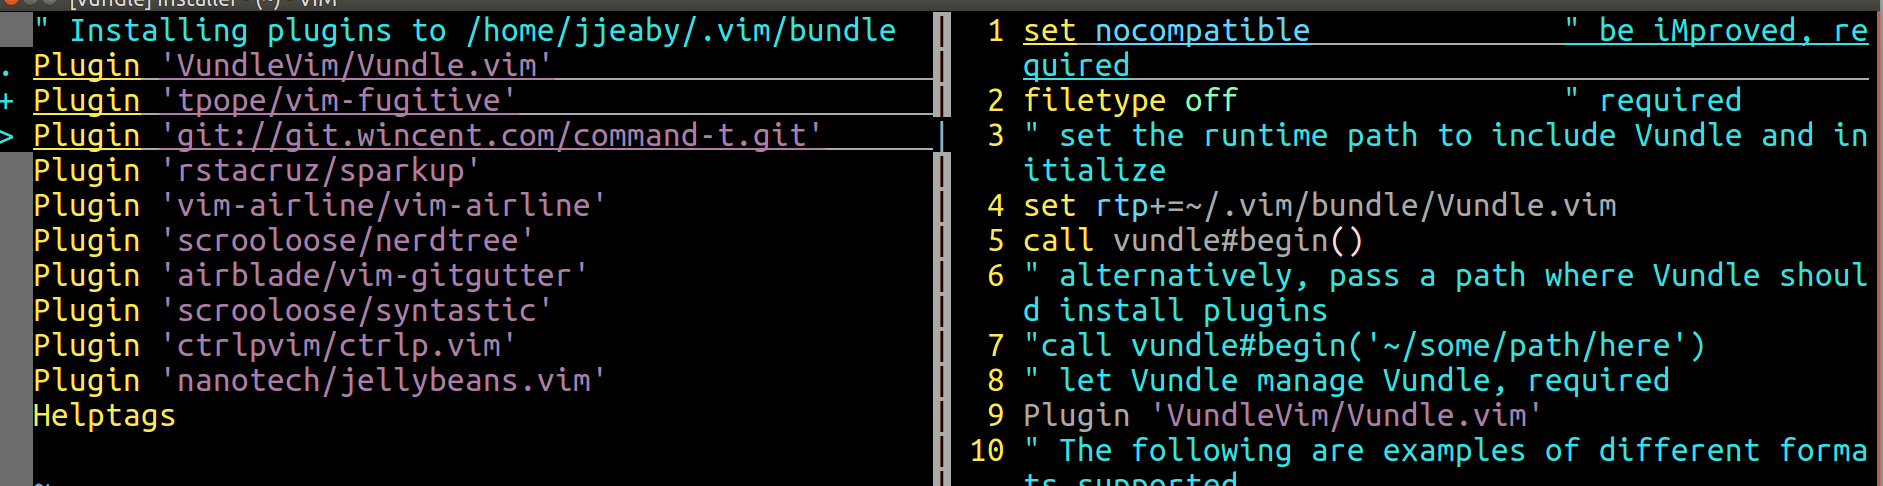
3. .vimrc 에 설정한 플러그인 설치
:PluginInstall 을 입력하면 아래와 같이 플러그인이 설치된다.
4. 사용법
- ctrl + w, w 를 누르면 파일트리 <--> 에디터 창으로 포커스가 이동된다.
- :sp "파일이름" 으로 창을 분할한 경우 ctrl + w, ctrl + h,j,k,l 로 분할된 창을 이동 할 수 있다.
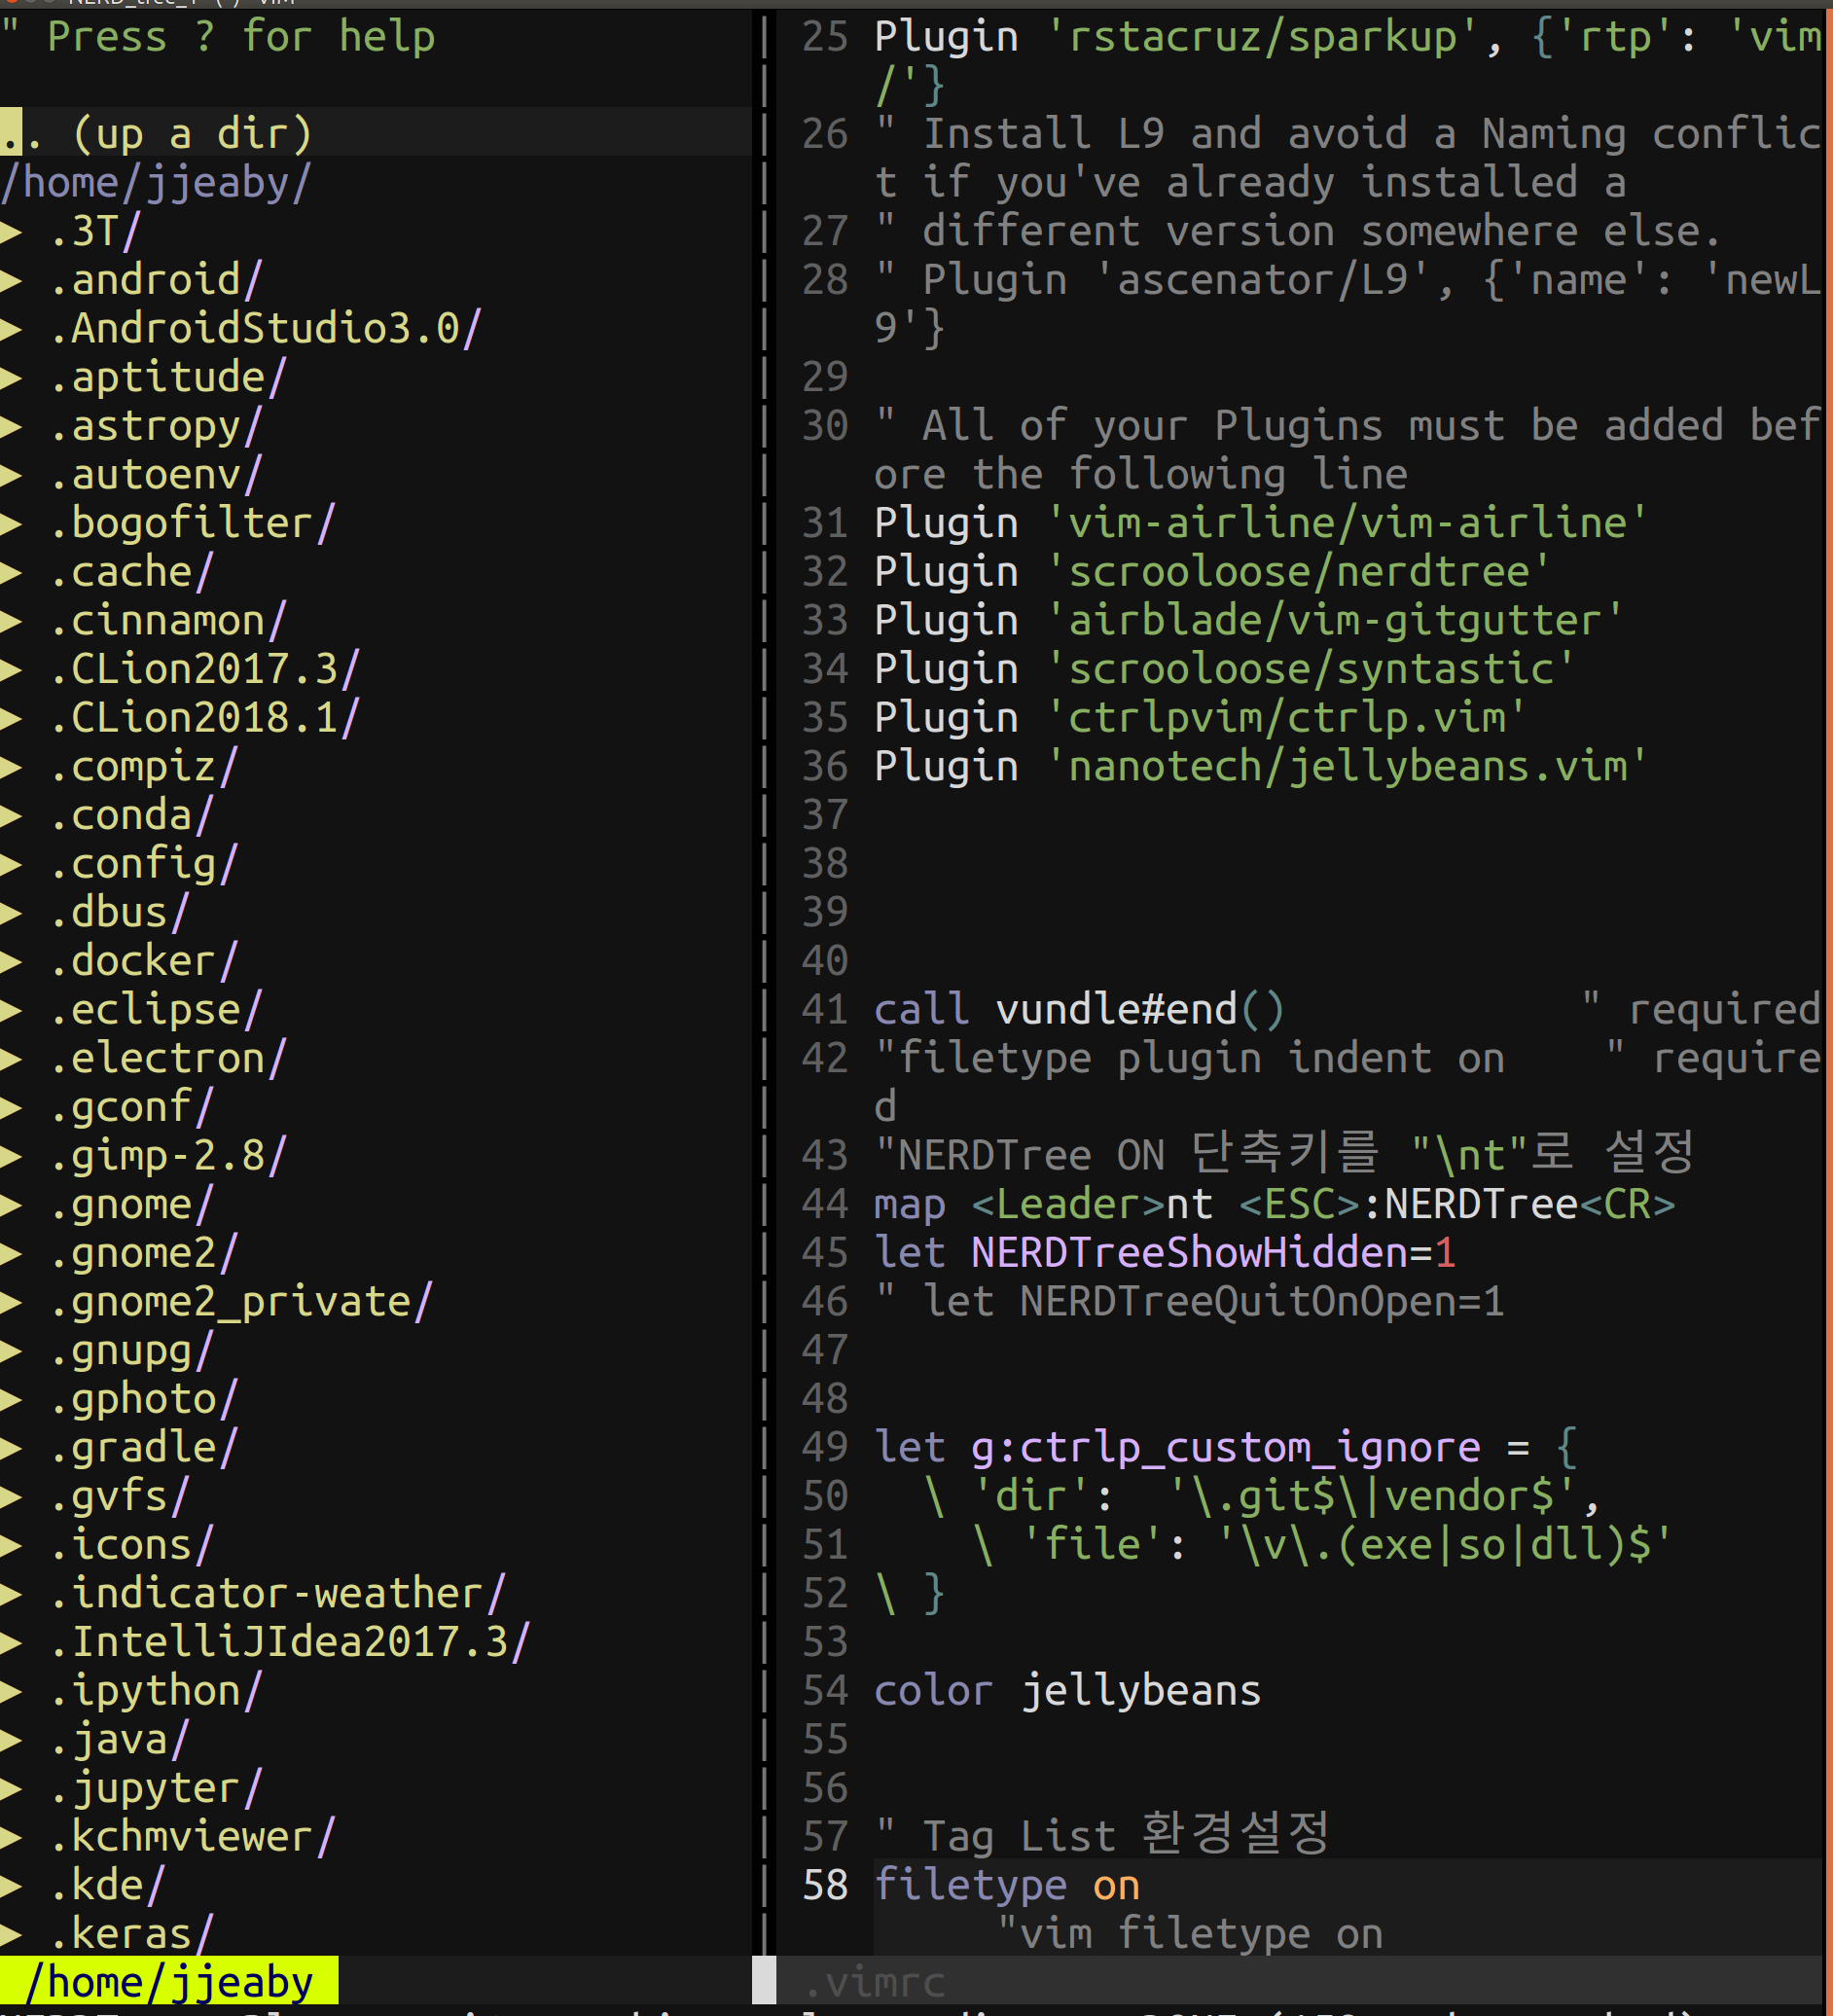
- \nt 를 입력하면 아래와 같이 왼쪽에 파일 트리가 나타난다.
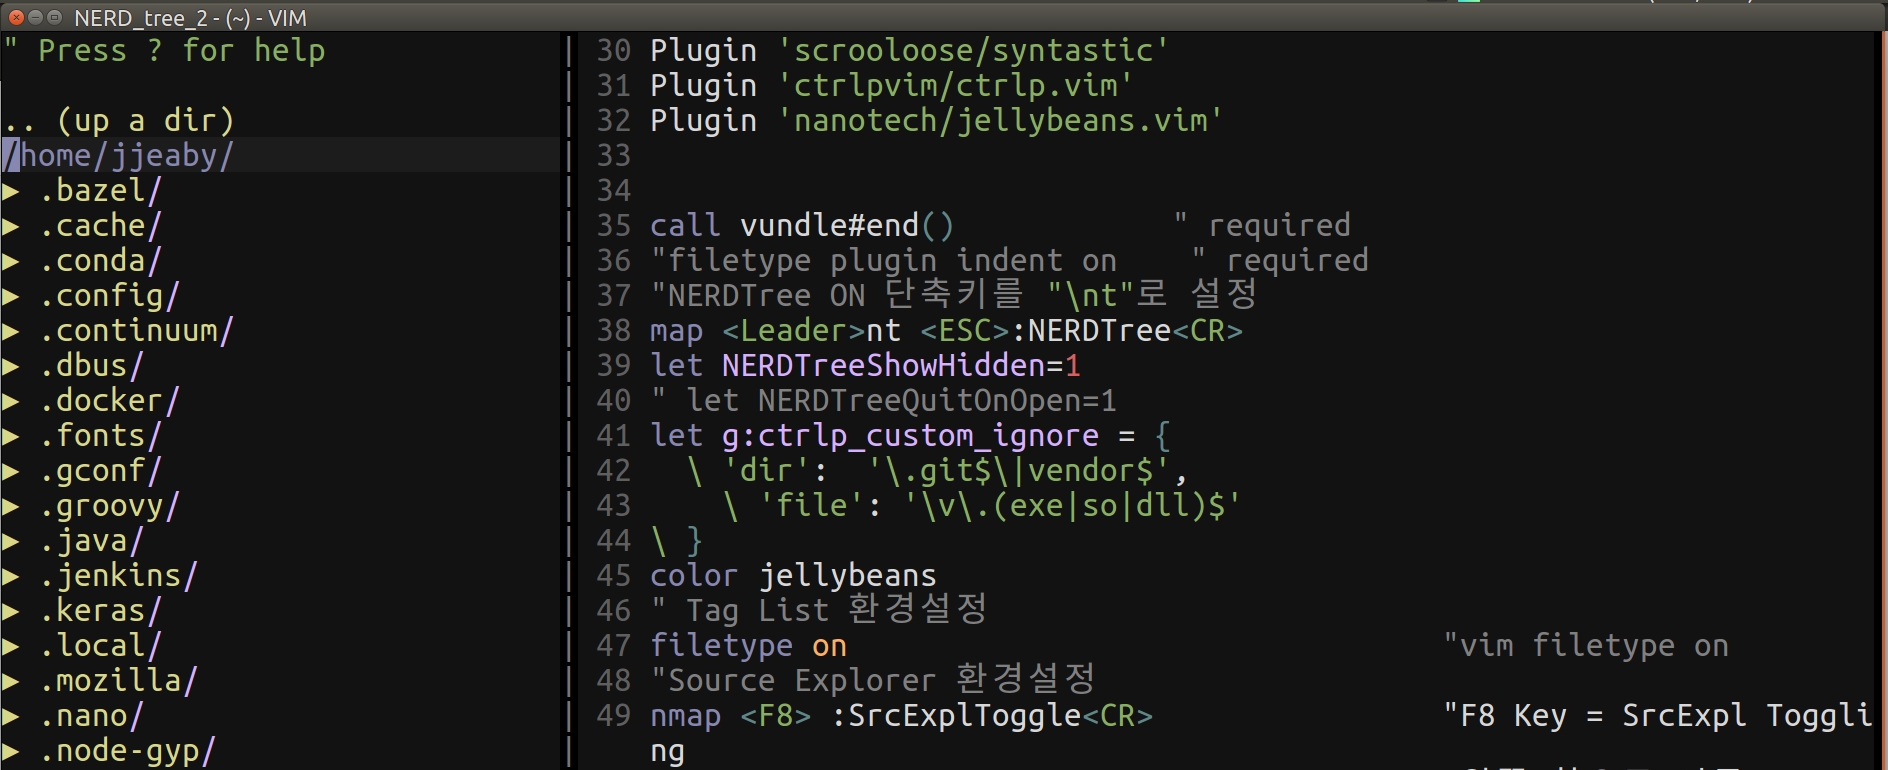
이제 편하게 vim 을 쓰면 된다~~~:)
'개발' 카테고리의 다른 글
| Linux 에서 sudo [cmd] 실행시 Password 입력 안하기 (0) | 2020.06.01 |
|---|---|
| Jenkins PIPELINE Background Process (0) | 2020.06.01 |
| Spring Boot + Maven 으로 Liquibase ValidationFailedException : liquibase check sums error any changes not postgresql (0) | 2020.06.01 |
| Ubuntu Static IP Address Setting (0) | 2020.06.01 |
| Jenkins Pipeline Script Sample (0) | 2020.06.01 |


